DIY KITCHEN CABINET MAKEOVER

When I bought a bank-owned home last year, I knew there were a lot of projects I’d end up tackling on my own, after moving in, because my budget just wouldn’t cover paying experts to do it all. Refinishing my kitchen cabinets was one of the top three on that list.
I was quoted $3,000 to have a professional painter tackle it. That was less than half the cost of replacing them altogether, but still more than I wanted to pay. My gut kept saying I could paint them myself. After all, how hard could it be, right?
DIY OR NOT?
I had friends tell me not to go there. They said I’d ruin the cabinets tackling them myself. I wasn’t sure they were wrong. So I delayed the project. One month. Then two. Before I knew it, I’d been in the house six months and still hadn’t touched them. But I’d done other projects, from building my own farmhouse shutters to stripping and staining my stairs, (all with the help of my guy who, in all honesty, was the brains and most of the skills in this duo) and my confidence in the home-improvement world was soaring. And in this case, COVID-19 work from home orders were giving me extra time that I wouldn’t otherwise have (Ever heard of the Atlanta commute? I was gaining 2 hours a day by not having to drive to work and had no idea when that was going to end). So, I decided to go ahead and jump in with both feet.
PREP
I knew from the stair project that prep was going to be critical. And organization, too.
I drew up a floorplan of the kitchen, numbering each door and drawer.
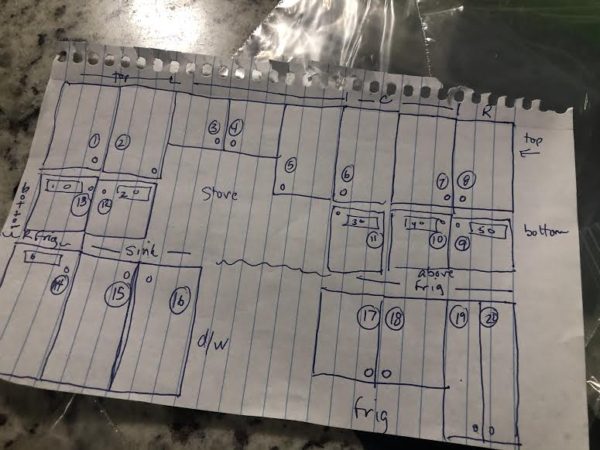
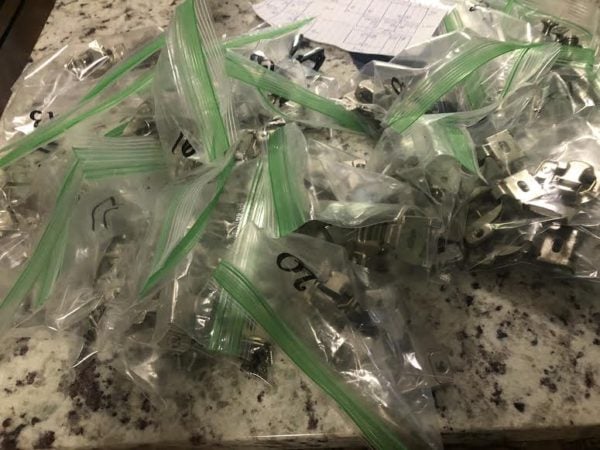
Then I tackled taking the doors down. As I did, I put the hardware (screws and door latches) into ziplock bags numbered to match the doors and drawers. I was supposed to put their corresponding numbers on the doors under where the hardware went, then cover them with painter’s tape. I messed that part up and put the numbers on top of the painters tape, which I painted, so that was pointless. Don’t make that same mistake. We were able to figure out which doors went where, but I don’t have as many doors as most people, so that could have been a problem.
I then went to work de-glossing each door, covering both sides of the door and using a piece of sandpaper to wipe them down. The paint I picked was a mini-miracle for this project, because it doesn’t require you to sand them down to bare wood–just to clean off the gunk from years of use. It’s a Valspar product, designed specifically for cabinets and furniture.
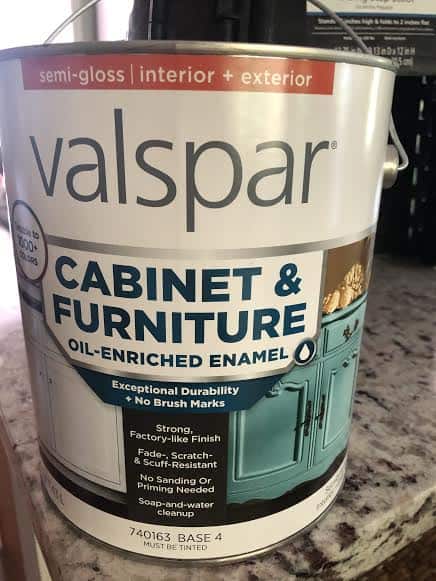
I can’t recommend it enough for minimizing your workload. All I had to do was de-gloss the cabinets, then wash them each down. I used a rag soaked in Dawn detergent and water, to make sure the grease was gone. Easy breezy.

After that, I used Frog Tape to outline the cabinets and make sure I didn’t end up having to repaint the whole kitchen after making a mess. And I used brown paper to cover my countertops. I cut off one special piece for the oven/stove so that I could still cook while the project was underway.
BRUSH, ROLL, OR SPRAY
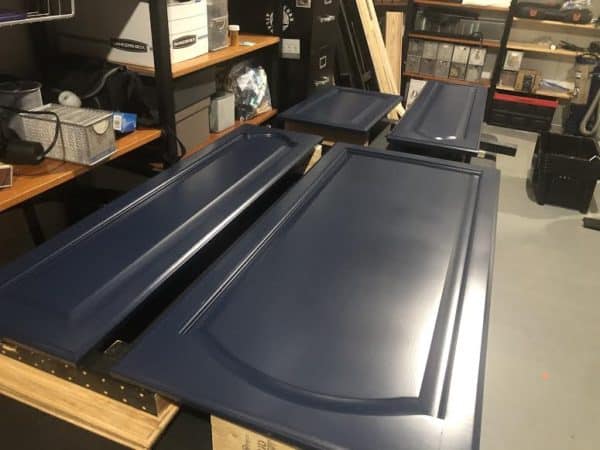
We bought a sprayer to paint our farmhouse shutters, and decided that was perfect for this project. But I was a little overly confident with my spraying abilities and put too much paint on the doors, which ended up making it run. So, add that to your list of my mistakes not to make. Get really good at painting before you tackle something important like your cabinets. Luckily, my guy is really good at it, so he took over the spraying part, while I took over the hand painting of the base to the cabinets. Lucky for me, that turned out to be the easy part. I ended up making a lot more work for us by messing up the few doors I started with, which we had to sand, paint, prime and paint again. Fortunately, I only painted a few in the beginning, so we didn’t have to re-do the entire kitchen. We set up a system to paint a few doors at a time and let them dry, and then give them another coat for good measure. The bases were a cinch to paint, brushing small portions and rolling bigger parts (another mistake of mine you should avoid–read the paint details before buying your tools…I used a foam roller and that was a specific no-no that I read about after the fact…luckily something simple enough to fix with a second coat).
FINISHING TOUCHES
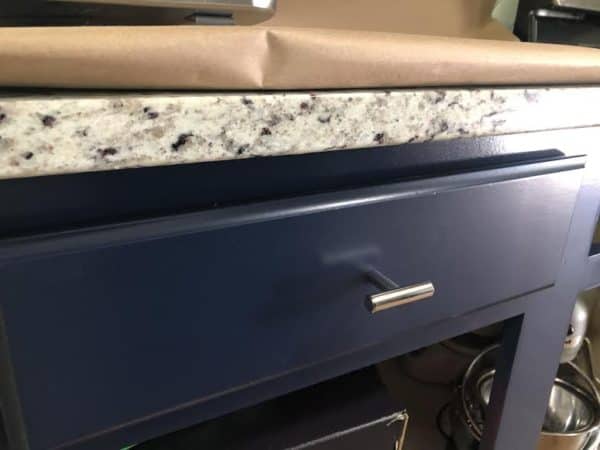
Once you’re happy with the doors and drawers, take this opportunity to replace the hinges and handles. I knew I wanted to switch to bar handles instead of knobs, but also didn’t want to have to drill new holes, so I found small ones online that only required one screw. Keep that in mind when it comes to picking out your new hardware. I attached mine as I hung each door and installed each drawer. Because we worked in phases with a few doors at a time, it took longer than I hoped (I’m impatient, what can I say?). But seeing it come together over time just convinced me with each addition that I’d made the right choice in color for my cabinets.
FINAL RESULTS AND EXPENSES
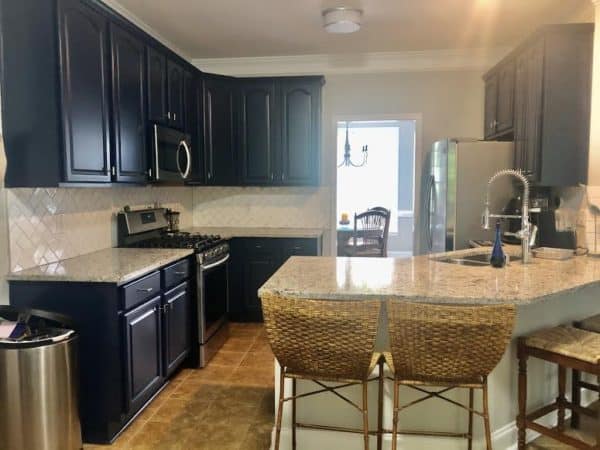
I absolutely love my new kitchen! LOVE IT!
I spent about $60 on each gallon of paint (I needed two, but mainly because I messed up those first few doors that we had to repaint).
I spent about $30 more on rollers, brushes, Frog Tape, sandpaper and plastic sheeting and brown paper to cover the countertops. I spent another $50 on the new hardware and hinges.
So, in the end, it cost about $200. Add another $200 more if you have to buy a sprayer, but we already owned ours from our previous projects.
I’d say it was all money well-spent, and I am so very happy to have it finished.
Here’s a video of the project, start to finish. If you decide to try it, too, I’m sending you patience and perseverance. And hoping you have a good helper when you get stuck like I did.


